


Affiliate links below.
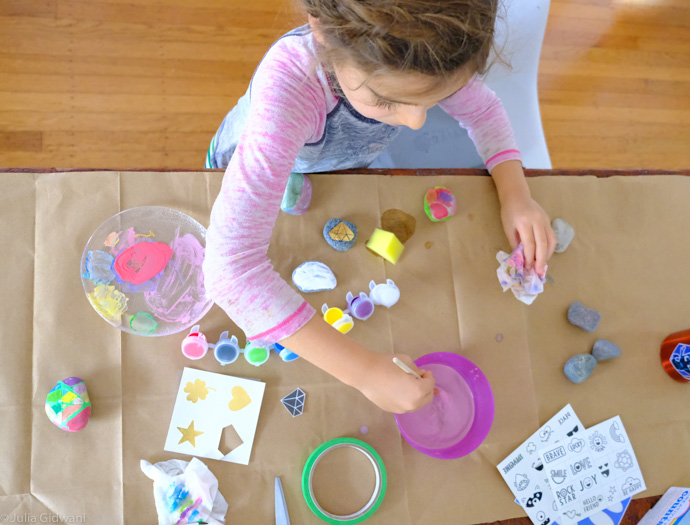
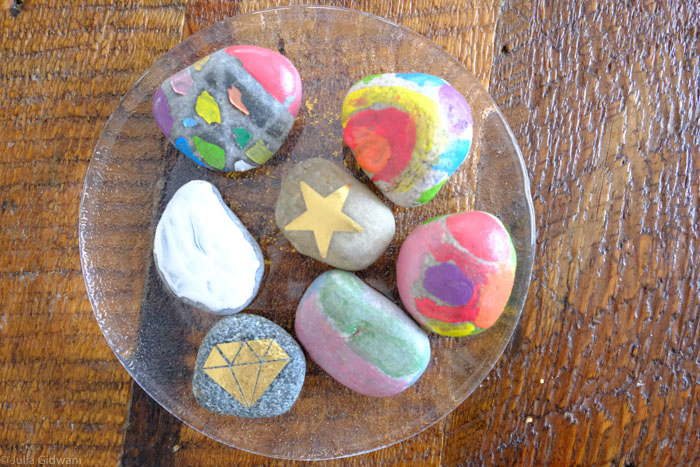
Back when the poor AQI kept us inside, my quaran-team and I were gifted a very thoughtful rock painting kit. My older daughter waited patiently until my two-year old took a nap, and then we pulled out all the paint, brushes, and rocks to make these beauties.

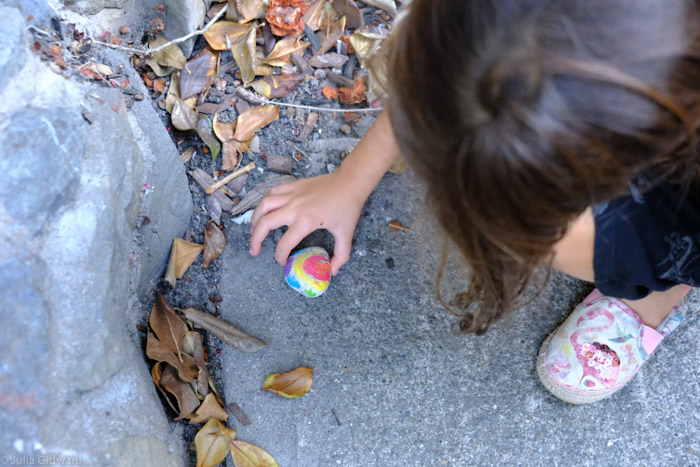
We had seen various painted rocks in our neighbor’s gardens and so we decided to hide some of our own. There are a bunch of families with small children in our neighborhood we thought might find joy in a colorful treasure hunt. It’s a small random act of kindness to brighten someone’s day.
We brainstormed lots of places to hide our pretty rocks around our yard and neighborhood. We also thought it would be fun to hide them among the bushes and flowers at local playgrounds and parks. Maybe you’ll find one of our rocks if you look around very carefully?
Create painted rocks at home or in your neighborhood, it’s very simple!
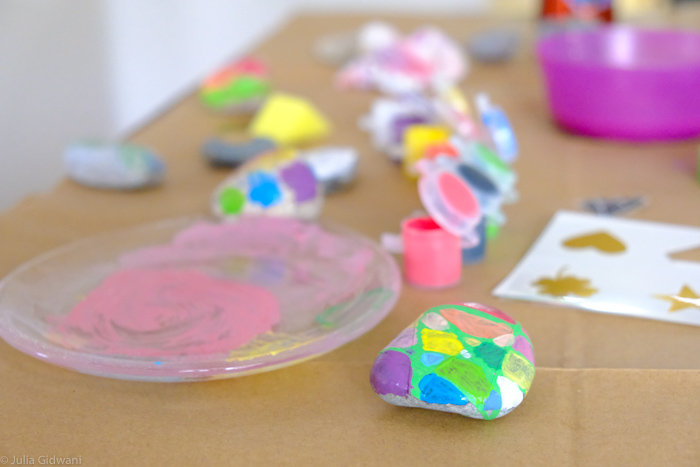
Find rocks or buy rocks in a kit. Flat, smooth rocks are best. Wash and dry the rocks before painting.
Gather supplies including a drop-cloth, paints, brushes. Use acrylic outdoor paint.
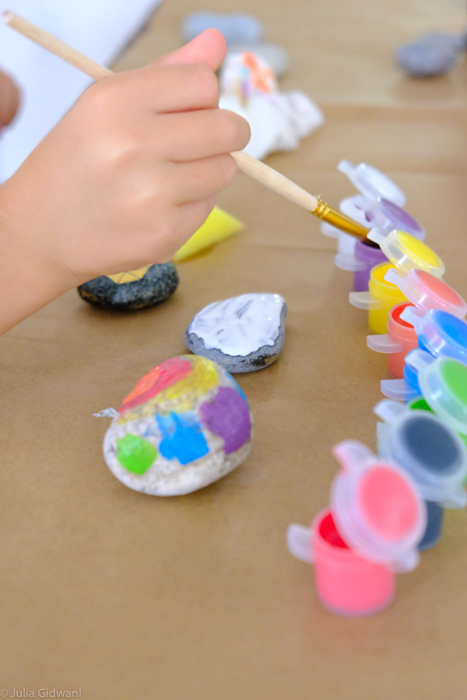
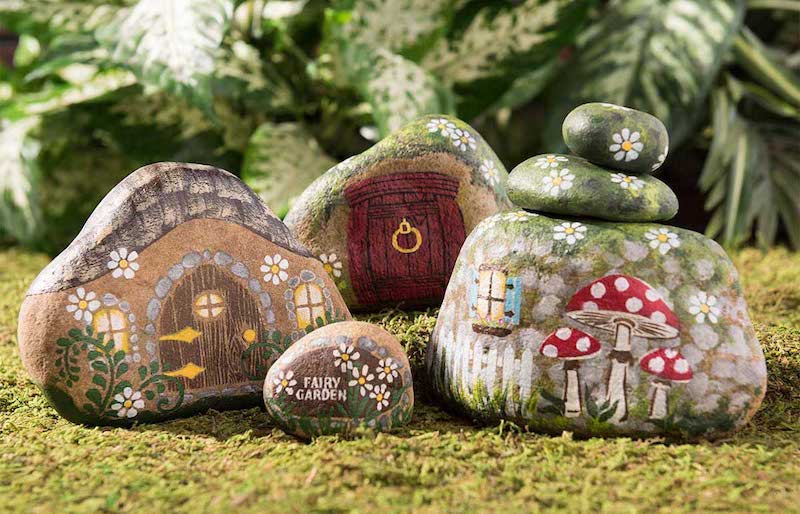
Get creative! I was inspired by these fairy-house shaped painted rocks. Pinterest obviously is an awesome place for inspiration for all manner of crafty projects. The kit we used also had a few suggestions to get our ideas flowing.
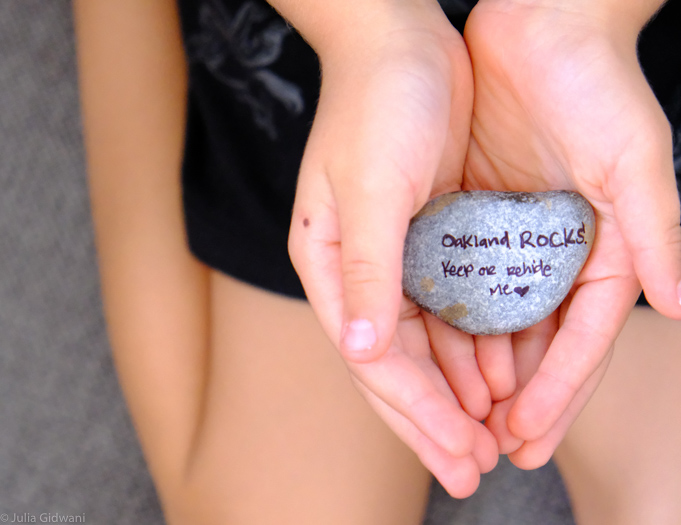
Personalize a message on the bottom of the rock. We decided to write “Oakland ROCKS! Keep or rehide me ♥” on each of ours. Now, you’ll know if you find one of them.
We hope you join in on the East Bay rock treasure hunt and should your family happen upon some hidden painted rocks, share them with us on Facebook or Instagram.
